

Table of Contents
Car cleaning kit shopping can feel overwhelming because every brand promises a showroom shine in a box. After hours of hands-on testing and comparison, we built this guide to the best products and equipment for weekend detailers. You will learn what belongs in a complete setup, how to wash safely without scratching paint, and which extras are truly worth the money. Read on to assemble a setup that keeps your paint glossy and your cabin fresh for years.
What the Best Car Cleaning Kit Includes
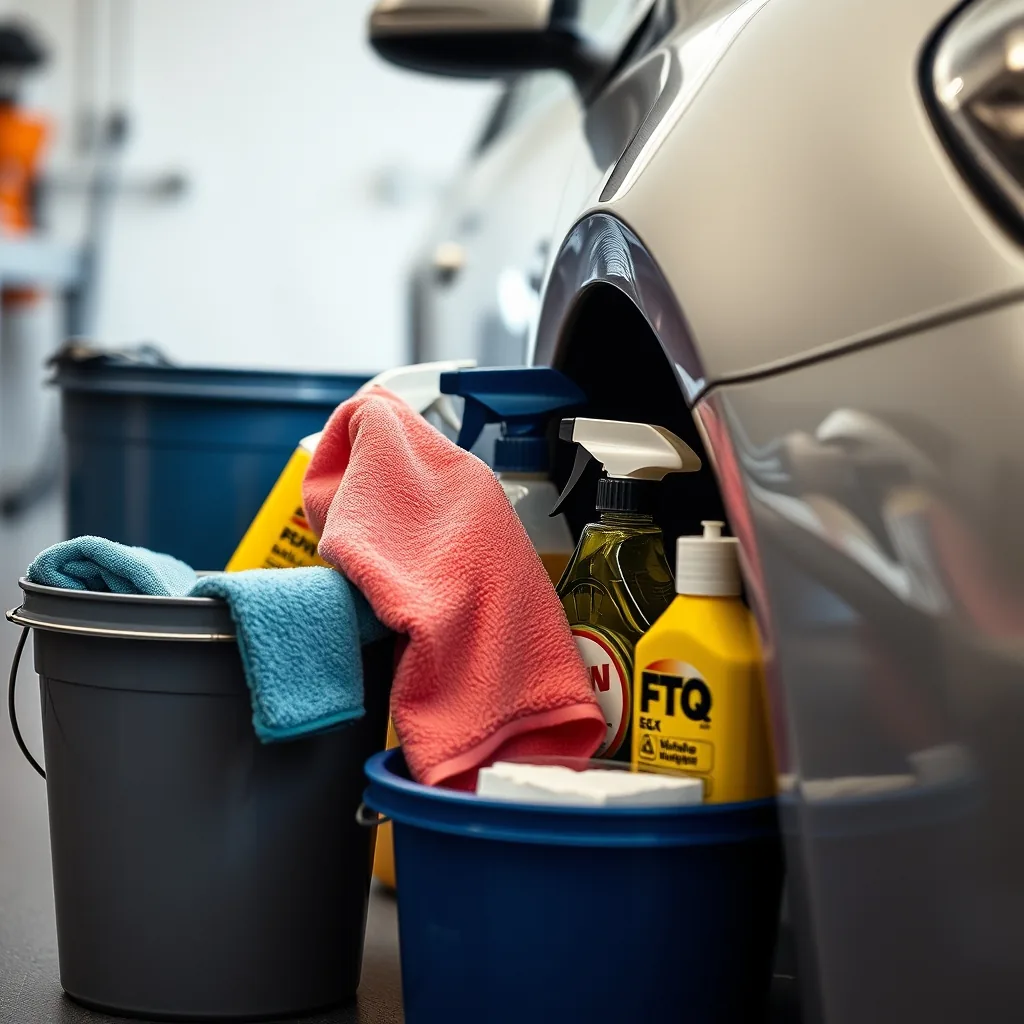
A quality car cleaning kit starts with the basics done right, not with the biggest box on the shelf. Many pre-packed bundles include a single bucket, one mitt, and a few thin towels, which is not enough for safe washing. The safest method uses two buckets with grit guards, a plush mitt, quality shampoo, and plenty of clean microfiber towels. For a deeper look at professional routines, see our expert auto detailing guide.
The two-bucket method is the backbone of every reliable car cleaning kit because it keeps dirt away from your paint. Fill one bucket with rinse water and the second with shampoo solution, and dunk a grit guard in each. Rinse the mitt in plain water after every panel before reloading soap, and always wash from the roof down so the dirtiest areas come last. This simple habit prevents most swirls and fine scratches.
Exterior Wash and Decontamination Steps
Start every wash with a thorough rinse and, when possible, a foam pre-soak that loosens grit before you touch the paint. A foam cannon or pump sprayer lays down thick suds that dwell for a few minutes and then slide off, carrying loose dust with them. Follow with the contact wash described above, working one panel at a time in straight lines rather than circles. Rinse often and never let soap dry on hot panels.
Decontamination is what separates a basic wash from a true car cleaning kit routine, and it makes wax bond far better. After washing, spray an iron remover on wheels and lower panels, let it bleed purple, then rinse it away in open air because the sulfur smell is strong. Glide a clay bar or clay mitt over lubricated paint to lift embedded specks the mitt cannot reach. Wear gloves and work in the shade for the best results.
Dry the vehicle promptly with large twist-loop towels or a forced-air dryer to stop water spots from etching the finish. Fold each towel into quarters so you always present a clean face, and pat rather than drag across soft paint. Once dry, apply a spray sealant or paste wax panel by panel for months of gloss and UV defense. Clean glass last with a dedicated towel so dressing overspray never streaks it.
How to Use Your Car Cleaning Kit
Order matters when you put any car cleaning kit to work, so follow the same sequence every time. Wheels and wheel wells come first with their own brushes and soap, since brake dust is abrasive and should never touch your wash mitt. Then wash the body top to bottom, decontaminate as needed, dry, and protect. For the service intervals that keep the rest of the vehicle healthy, review our car maintenance basics.
Reserve separate tools for the dirtiest zones because one careless wipe can undo an hour of polishing. A dedicated car cleaning kit for wheels means its own bucket, brushes, and towels that never touch paint. Bumpers, rocker panels, and exhaust tips collect gritty film, so clean them last with older towels. Compare your technique against the Meguiar’s how-to guides to confirm each step matches manufacturer advice.
Interior Detailing Without the Guesswork
Vacuum the interior before touching any surface with liquid, working from the headliner down to the carpets. Pull the floor mats, beat out loose grit, and vacuum seats, crevices, and the trunk with a crevice tool. Dust vents and crevices with a soft brush so particles fall onto areas you have not yet wiped. This dry-first order keeps you from turning dust into muddy smears.
A complete car cleaning kit handles stains with chemistry, not elbow grease alone. Mist an enzyme pre-treatment on carpet and upholstery spots, let it dwell for ten minutes, then agitate gently with a soft brush. Blot with a clean towel, follow with a neutral interior cleaner, and finish with an odor neutralizer rather than heavy perfume. Skip pet-hair brushes if no animals ride along and save that money.
Dressing and glass make or break the interior, so a smart car cleaning kit keeps both simple. Wipe the dash and door panels with a damp microfiber and a mild cleaner, then apply a low-sheen UV protectant in thin coats. Clean interior glass with two towels, one damp for cutting film and one dry for buffing streaks away. Less product beats more product on every textured surface.
The Bottom Line
Lighting and inspection close the loop that every serious car cleaning kit routine needs. A bright LED work light held at a low angle reveals missed wax haze, streaked glass, and dusty jambs that daylight hides. Walk around the vehicle twice, checking door jambs, fuel filler, and mirrors where water loves to hide. Fix flaws now while your tools are still out and the job stays quick.
Storage decides how long your car cleaning kit lasts, so treat supplies like the investment they are. Hang mitts and towels to dry fully before folding, seal bottles upright in a caddy, and replace grit guards when fins crack. Wash microfiber separately with a dedicated detergent and skip fabric softener, which clogs fibers. Well-kept tools perform like new for years.
To sum up, the right car cleaning kit rewards patient owners with paint that glows and a cabin that feels new. Wash with two buckets, decontaminate before protecting, and detail the interior from dry to wet. Keep supplies clean and stored properly between sessions. Follow this routine and every weekend wash will look sharper while preserving resale value.
How often should a weekend driver fully detail a car?
Wash every one to two weeks and run a full decon plus sealant refresh every three to four months. Daily drivers in dusty or coastal areas need the shorter interval, while garaged cars stretch longer. Inspect water beading monthly; when sheets replace beads, it is time to re-protect.
What is the safest way to wash without adding swirls?
Pre-rinse well, use two buckets with grit guards, and wash top to bottom with a plush mitt in straight lines. Rinse the mitt after each panel, keep panels lubricated, and dry with clean twist-loop towels. Never wipe dry dust and never use wheel towels on paint.
Which interior step do beginners skip most often?
Vacuuming first with mats removed, because wiping before vacuuming just spreads grit. Pull mats, vacuum crevices and seats, dust vents downward, then clean surfaces wet. Finish with glass and a light UV dressing for a factory-fresh look.

Dinda Margareta is a senior automotive editor at Auto Store covering collision repair, EV tech, and classic restoration. 5+ years, 130+ guides. Method: OEM position statements and repair data cross-reference. Author of 2,333 auto guides since 2022.


More Stories
Lewis Hamilton Shows Off New Helmet for Monaco GP by Daniel Arsham
Son parte de Star Wars los dos VW ID. Buzz muy especiales, e inspirados en “Obi-Wan Kenobi”
2022 Audi Q5 Sportback Review: Rounding out the top